Step-by-Step Guide to Customizing an End Cap
Custom end caps are often required for underwater enclosures to accommodate various penetrators, indicators, and sensors. While standard hole patterns are offered, many users require fully custom layouts for electronic or battery watertight enclosures. The following process outlines how to request a custom-machined end cap or perform DIY modifications using blank units. This example uses the Subsea Aluminum End-Cap as a reference, however the same process can also be completed for the Subsea Acrylic End-Cap.
Custom Order Process:
- Purchase the correct custom end cap size (85 mm, 115 mm, or 165 mm) from the product page. This process applies to both the Subsea Aluminum End-Cap and the Subsea Acrylic End-Cap.
- Download the matching DXF template from the Downloads section of the product page. The same DXF templates used for aluminum end caps can also be used for acrylic end caps, and are available for download on both the Subsea Aluminum End-Cap page and the Subsea Acrylic End-Cap page.
- Open the DXF in any 2D CAD program (e.g., AutoCAD, Fusion 360). Place circles where each hole is required. Hole centers indicate drill points. Use standard supported sizes: M6 (6.1 mm), M8 (8.1 mm), M10 (10.1 mm), M14 (14.1 mm), or M16 (16.1 mm). Contact us if other sizes are needed.
- Save your modified DXF file and email it to contact@blu-sub.com with your order number in the subject line. Attach one DXF per unique design and specify quantities for each. Allow an additional 2 business days for processing.
Example – Customizing the OD115 Aluminum End Cap:
- Download the technical drawing from the Subsea Aluminum End-Cap product page. (The same workflow applies for acrylic end caps using the Subsea Acrylic End-Cap.)
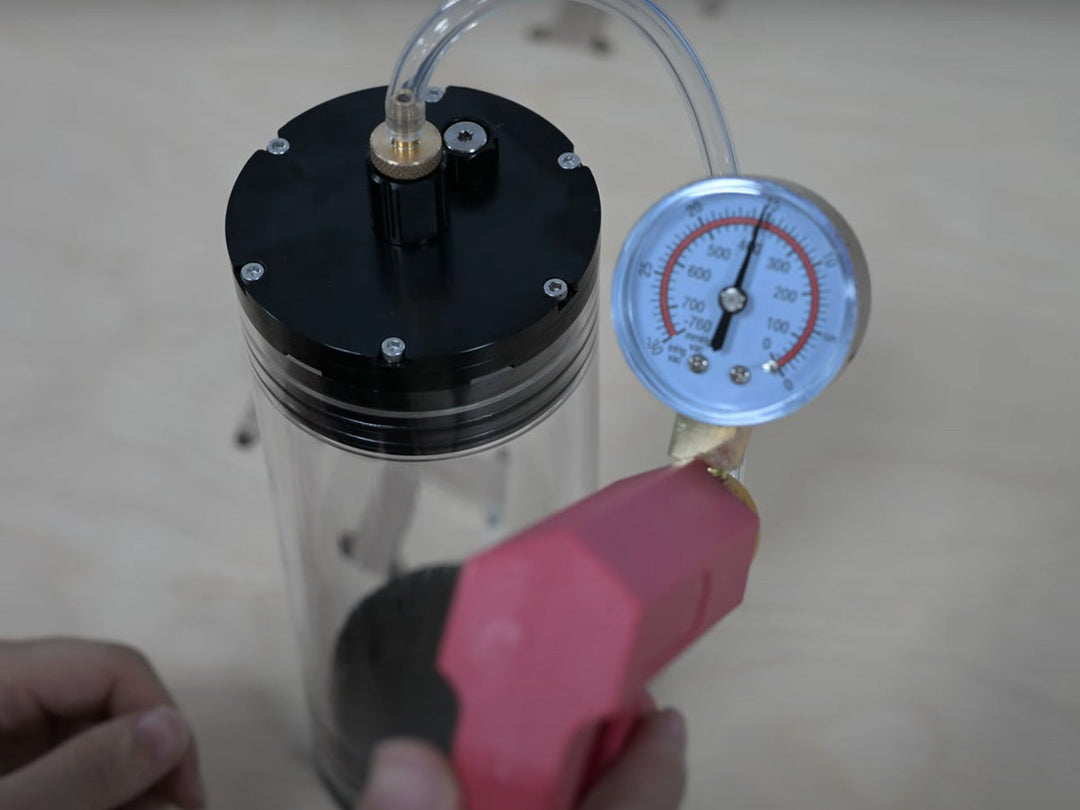
- Open the drawing in CAD software and draw an auxiliary circle marking the maximum usable flange area. This circle defines the boundary within which all connector and penetrator components must fit. Be sure to account for the full external diameter of locking caps or gaskets—not just the hole diameters.

- Typical layout for a battery enclosure might include:
• 1 × Subconn 7/16-20 connector (Ø11.3 mm)
• 4 × M10 components (Ø10.1 mm): switch, vacuum plug, signal indicator, digital tube
• 1 × M8 vent (Ø8.1 mm)
Ensure spacing between components for installation and removal. Arranging holes concentrically can improve alignment and reduce interference.

- Perform a clearance check to ensure that no holes interfere with internal or external flange surfaces.


- Include the modified DXF file and a labeled PDF drawing showing the hole positions and diameters (other dimensions not required). A STEP file of the 3D model may also be provided optionally.
- Email both files to contact@blu-sub.com for review and production approval. (This applies for both aluminum and acrylic end caps.)
Note: All custom hole layouts are produced with thru holes only. Threaded holes are not offered as a custom option. The only threaded-hole end cap available is the 115 mm 18-Hole variant, which combines 11× M10 threaded holes with 7× M10 thru holes.
DIY Customization (Blank End Caps):
As an alternative, you may choose a blank version of the end cap (listed as “End Cap Blank (no holes)”) and manually drill holes as needed. Use a drill press or guided tooling to create perpendicular, watertight holes. Always test component fitment beforehand. This DIY approach can be used for both aluminum and acrylic blank end caps, however acrylic is more prone to cracking if improper tooling or technique is used.
Sticker note: Adhesive hole-marking stickers are included only with the Subsea Polymer Flange & End-Cap. Blank aluminum end caps ship without stickers.
Additional Notes:
This same customization workflow also applies to the Subsea Polymer Flange & End-Cap, which is compatible with the same DXF templates and hole patterns. The same DXF templates and custom layout workflow also apply to the Subsea Acrylic End-Cap.


Leave a comment