


This tool is fully compatible with the Low-Depth M10 Gland Cable Penetrator and the Deep-Sea M10 Gland Cable Penetrator.
Tool Wear:
Minor loosening or wear may occur over time with repeated use. This is normal—ensure the tool still fits snugly and applies proper torque without slipping.
Material Compatibility:
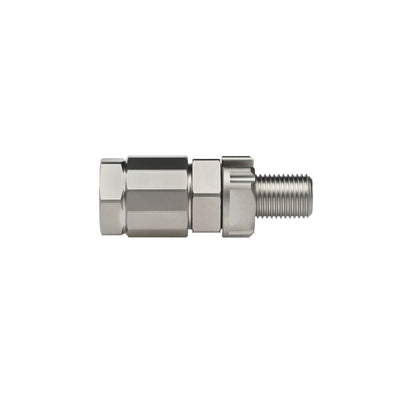
While compatible with all M10 penetrators, the tool is specifically optimized for use with aluminum and nickel-plated brass (Copper Body and Nut) to prevent surface damage. Using it on other materials may reduce its protective benefits.

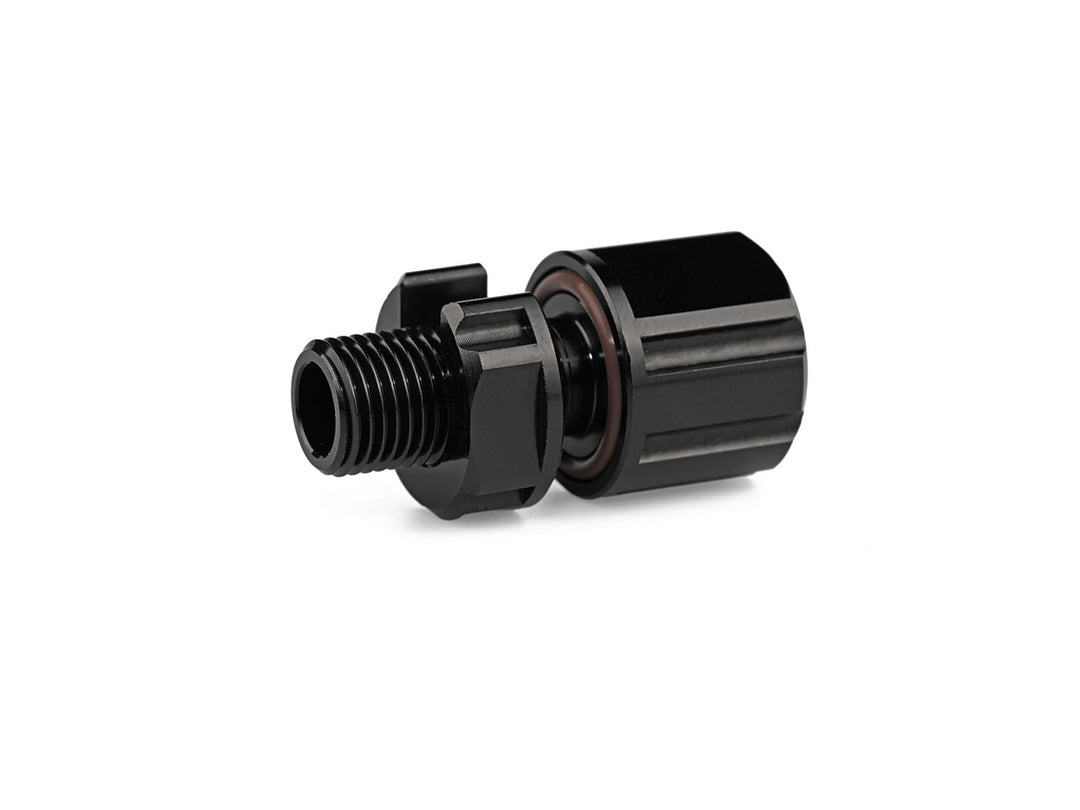
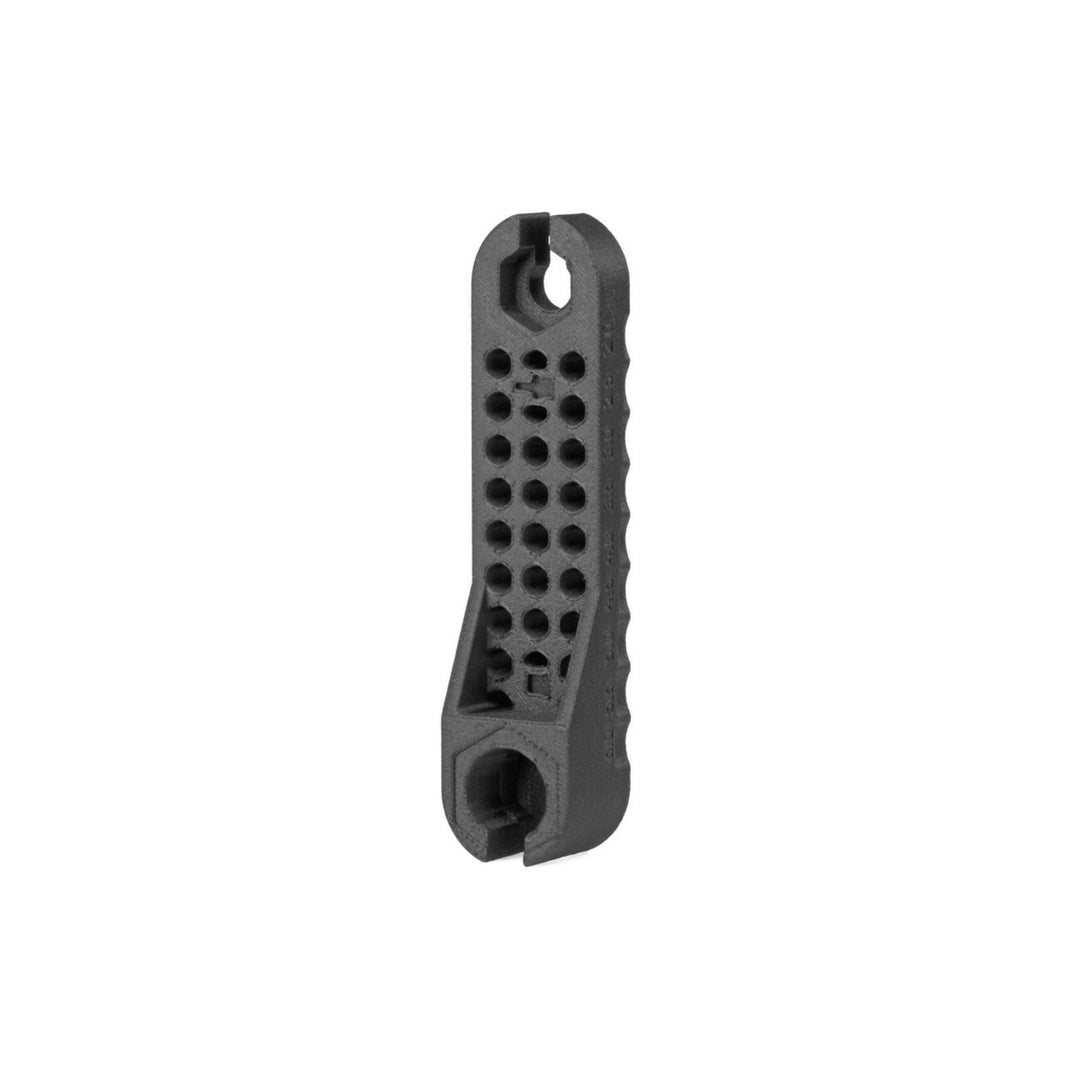
Precision-threaded underwater cable penetrator rated to 1,000 m depth; this tool ensures scratch-free installation by securely tightening the locking cap without damaging aluminum or brass surfaces.

Recommended for safe installation of this copper-bodied, nickel-plated brass penetrator. The tool prevents surface scratching and allows controlled tightening of the locking cap during assembly.
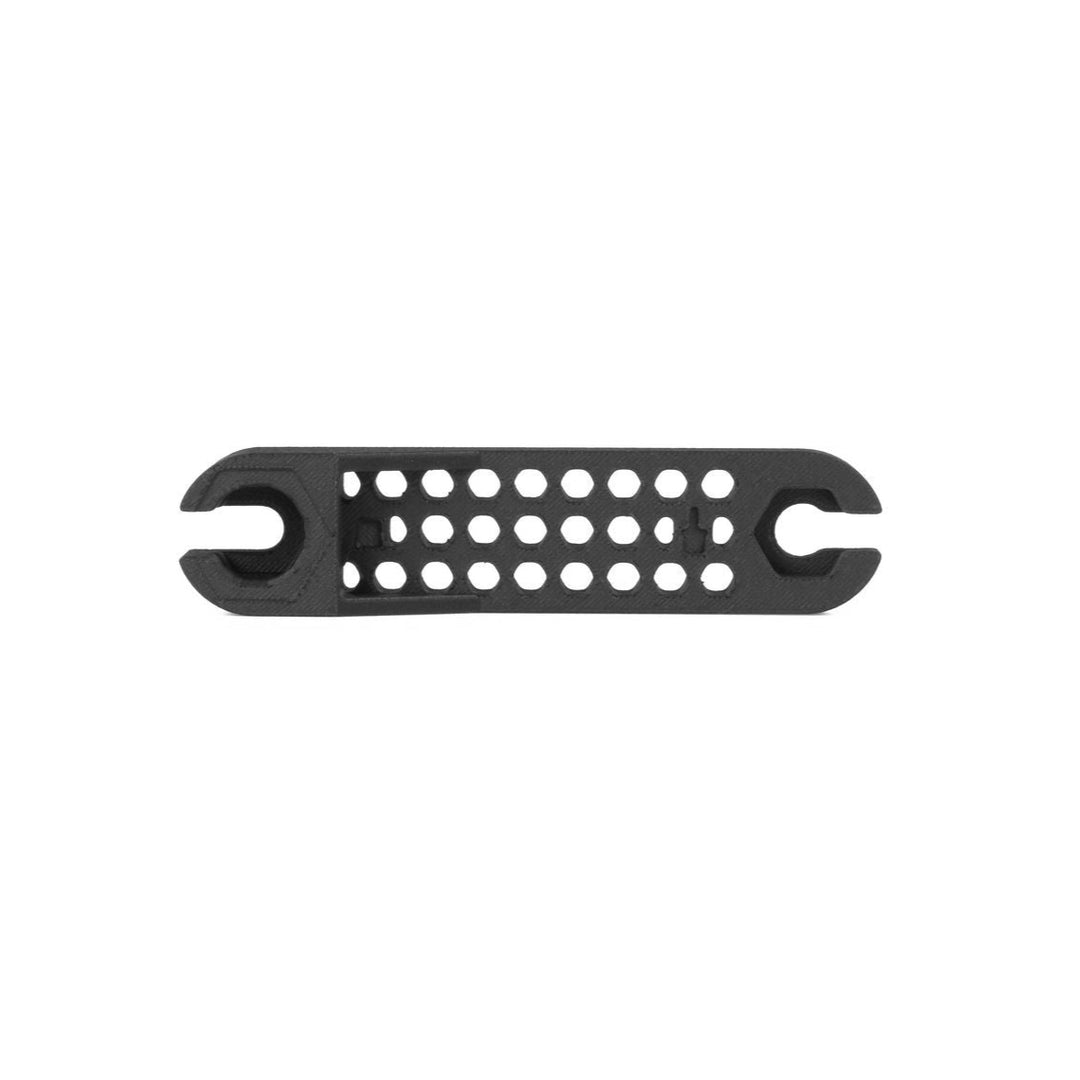
| Product | Scratch-Proof Wrench Tool |
|---|---|
| Material | PETG-CF (Carbon Fiber Reinforced) |
| Weight | Approximately 42 g |
| Application | Used for scratch-free installation and tightening of gland penetrator locking caps |
| Design Features |
• Precision fit onto locking cap and penetrator • Prevents aluminum surface damage • Allows torque application to compress seals • Aligns to the gland penetrator's gap ring for optimal sealing |
| Usage Notes |
• Do not over-tighten—tighten until cap reaches the gap ring • Clean all parts prior to assembly • Inspect assembly post-installation for stability and damage |
| Maintenance |
• Normal wear may cause loosening over time • Confirm the tool continues to grip securely before use • Only recommended for aluminum gland penetrators |
| Compatible With |
• Subsea M10 Low-Depth Gland Cable Penetrator • Deep-Sea M10 Gland Cable Penetrator |
Usage Guidelines
1. Cable & Component Preparation
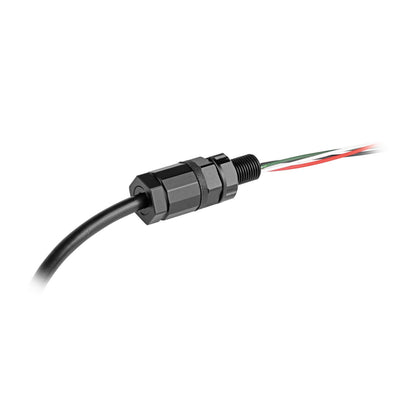
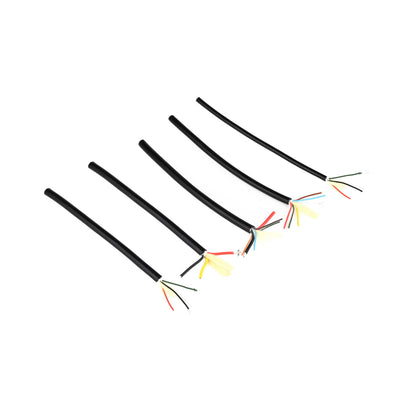
Prepare the cable by cutting it to the appropriate length and stripping off the sheath and core filler at the end that enters the watertight enclosure. Ensure the end of the sheath is flat.
Clean the outer jacket of the cable and all gland penetrator parts using alcohol and a dust-free cloth.
2. Assembly
Thread the gland penetrator components onto the cable in the correct order. Press the cable inward so that the shear steps seat firmly against the sleeve ring.
Hand-tighten the locking cap to hold the assembly in place initially.
3. Tightening
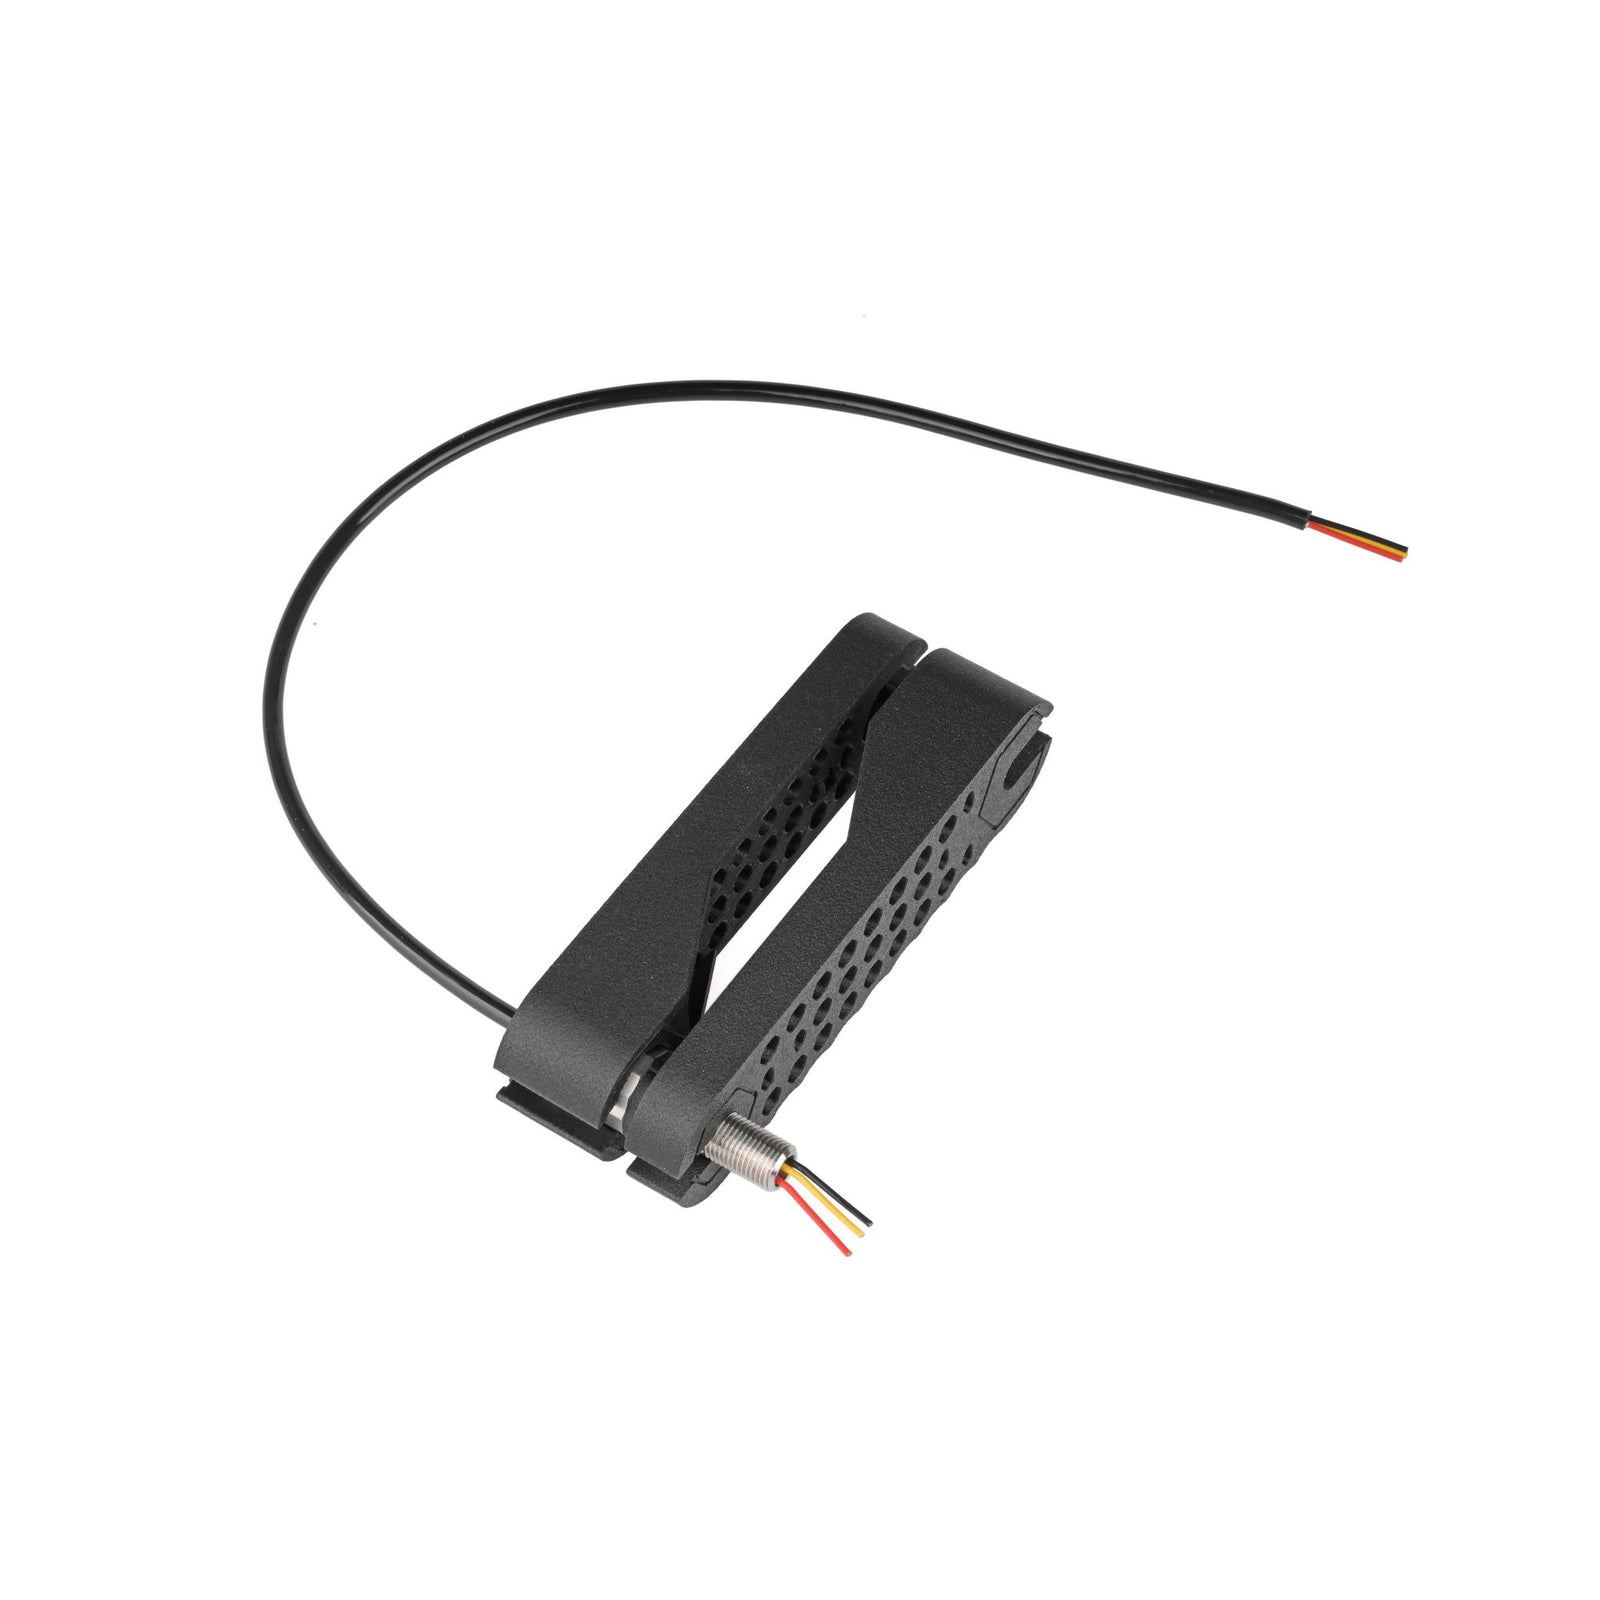
Use the Blu-Sub Scratch-Proof Wrench Tool to tighten the locking cap until it reaches the gap ring—just enough that it does not shake or loosen.
Avoid over-tightening, which may cause deformation or damage. The aluminum version of the gland penetrator is not suitable for conventional wrenches or bench vises, as these can pinch or clip the surface, affecting both sealing performance and appearance.
4. Tool Handling Notes
Proper installation requires two Scratch-Proof Wrench Tools to apply balanced torque and prevent misalignment. Tools are sold individually.
Some loosening of the tool may occur after repeated use—this is normal. Ensure the tool fits snugly and tightens securely to the gap ring. Do not over-tighten to compensate for looseness; normal application of force will not damage the tool.
5. Post-Assembly
Confirm that the locking cap is fully seated and that there is no movement in the assembly. Inspect all components for signs of misalignment or surface damage before deployment.