Note: A compatible cable penetrator is required to waterproof and secure the cable connection to your enclosure. This product uses the Deep-Sea 3-Core (16AWG) Underwater Cable. Choose a penetrator below that matches your depth and housing requirements.
Blu-Sub offers four types of cable penetrators designed to work with its subsea power and communication cables, each suited for different underwater applications:
Deep-Sea Cable Penetrators – Standard body design for high-pressure, full-depth deployments. Depth Rating: Up to 1,000 m / 3,281 ft
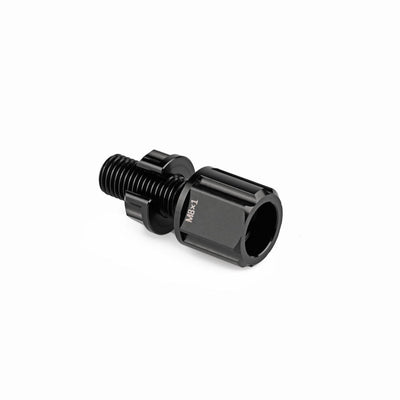
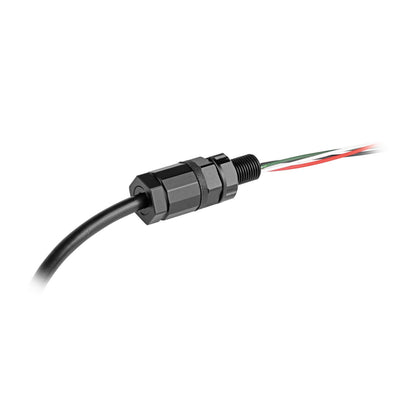
Deep-Sea M10 Gland Cable Penetrators – Threaded M10 penetrators with compression glands for added strain relief and modular housing use. Depth Rating: Up to 1,000 m / 3,281 ft
Low-Depth M10 Gland Cable Penetrators – Compact and cost-effective option for shallow water or low-pressure systems. Depth Rating: Up to 100 m / 328 ft
About the Cable:
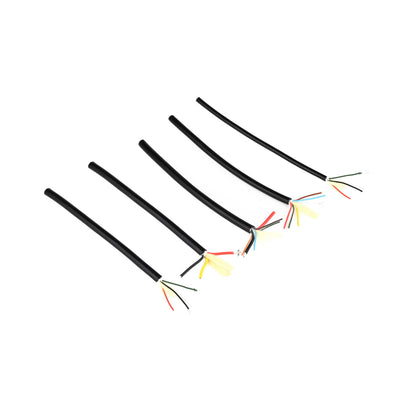
This product uses the Deep-Sea 3-Core (16AWG) Underwater Cable, a rugged subsea cable designed for power and signal transmission. For modular or extended installations, several compatible connection options are available:
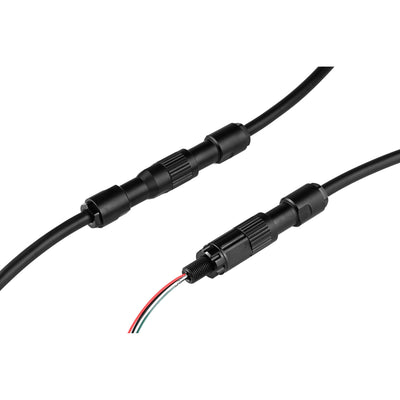
Deep-Sea Cable Connectors – Female Socket & Male Plug
Inline plug-and-socket connectors that allow the Deep-Sea Underwater Cable to be terminated with sealed ends for removable, watertight device connections.
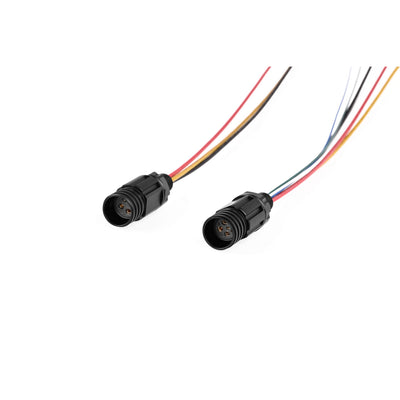
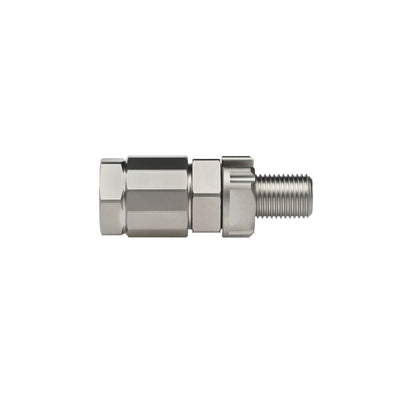
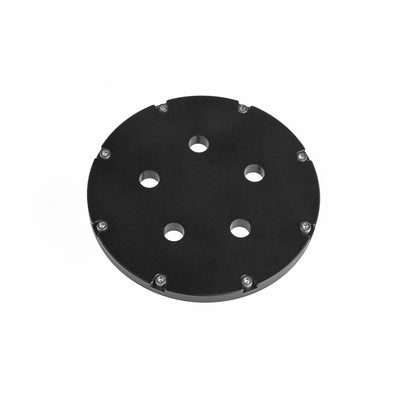
Deep-Sea Cable Connectors – M10 Bulkhead
Panel-mounted connector designed to interface with enclosure walls or end-caps. Requires a matching plug to form a sealed connection.
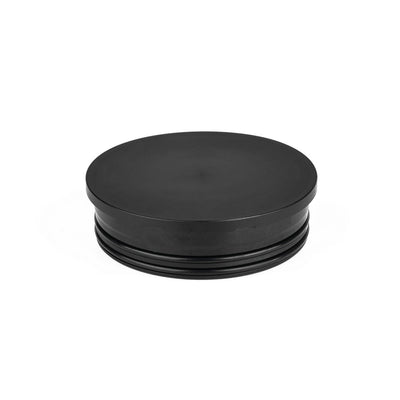
Deep-Sea Cable Connectors – Dummy Sealing Cap
Protects unused cable connectors during storage, transport, or inactive operation by sealing off exposed ends against water ingress.
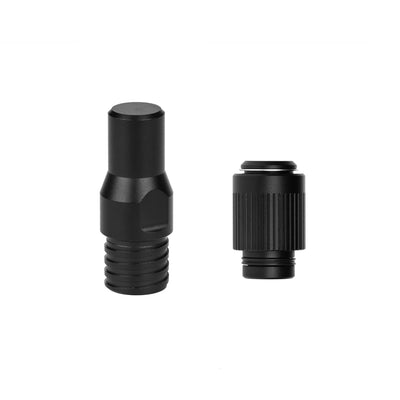
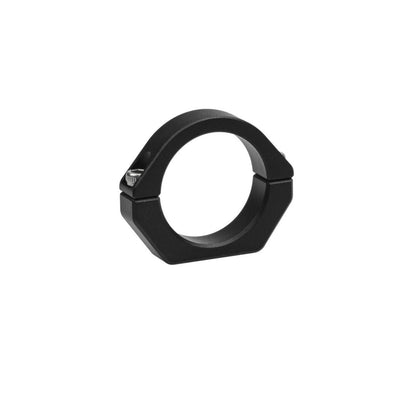
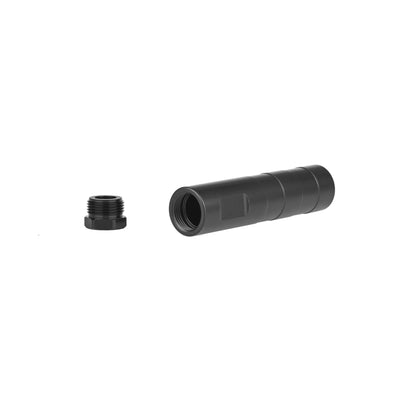
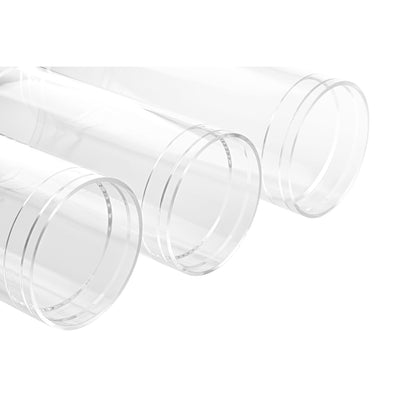
Subsea M10 Coupling Tube
Enables secure inline splicing of two cable segments using penetrators and potting compound. Also useful for relocating penetrator-mounted devices like subsea lights or switches to more accessible positions.

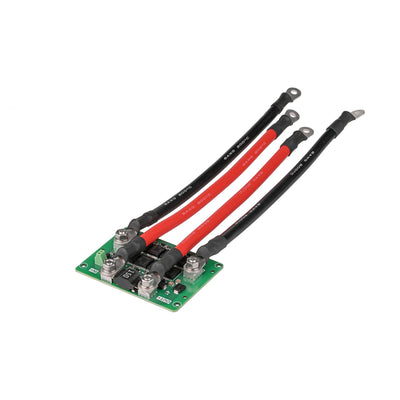
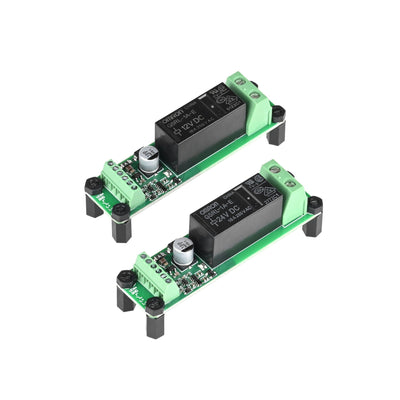
MOS Low-Side Switch Board
Enables on/off switching or PWM dimming of the LED light using a low-side driver circuit. Suitable for microcontroller-based or signal-controlled lighting systems.
Toggle Relay Control Module
Provides push-button toggling of the LED light’s power state. Ideal for manual control using Blu-Sub push button switches.


| Spec | Underwater Light |
|---|---|
| Input Voltage | 10–28 V |
| Dimming Mode | PWM Dimming |
| PWM Voltage | 3.3–5 V |
| PWM Dimming Range | 1100 µs (off) – 1900 µs (brightest) |
| Power | 17 W (MAX) |
| Peak Current | (17 / VIN) A |
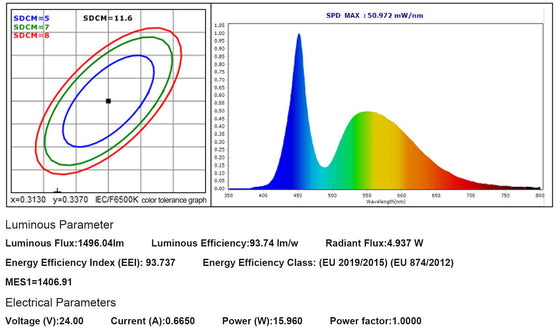
| Maximum Brightness | 1,500 Lumens |
| Beam Angle | Approx. 90° |
| Color Temperature | 6,000 K |
| CRI | 74 |
| Cable Outside Diameter | 5.4 mm |
| Cable | 3-Core (16 AWG) Deep-Sea Cable |
| Cable Length | 800 mm |
| Wiring Definitions | Red: Power Positive (+), Black: Power Negative (–), Yellow: Signal |
| Depth Rating | 1,000 m (recommended ≤ 800 m for continuous use) |
| Operating Temperature | -10 to 60 ℃ |
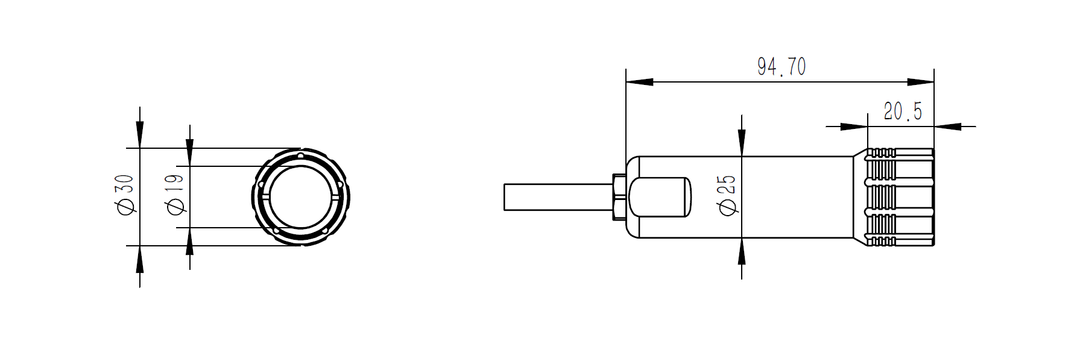
| Filter Size* | 25 mm |
Control Modes
Mode 1: ON/OFF Switch Control
Connect the signal wire (yellow) to the positive terminal of the power supply. The light will turn on at full brightness.
Mode 2: PWM Dimming Control
For PWM control, the underwater light's power supply must share a common ground with the signal source.
Provide a PWM signal on the yellow signal wire. A high-level signal between 1100µs and 1900µs corresponds to LED brightness from 0% to 100%.
Connecting to PIXHAWK
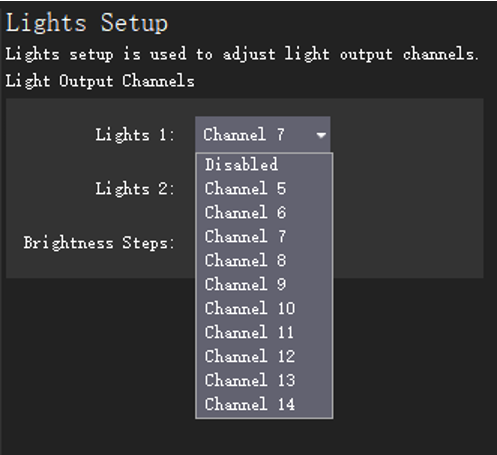
Connect the yellow signal wire from the underwater light to a signal output channel on the PIXHAWK.
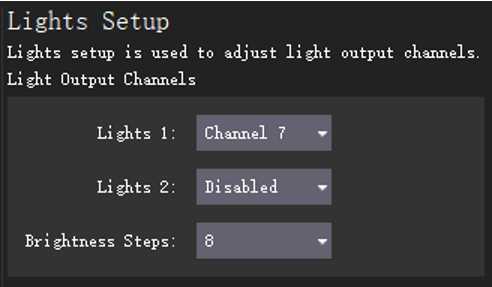
In QGroundControl (QGC), go to the lighting settings and select the appropriate output channel for the light.
You can also configure brightness step subdivisions in QGC to achieve finer dimming control.
Will loosening the glands on the light or cable penetrators affect waterproofing?
Yes — loosening or tightening the glands can compromise waterproofing. These components require special tools for proper installation and should not be adjusted.
How should I waterproof the bare wire version after making connections?
Use cable penetrators for secure wiring, or install watertight connector plugs to maintain waterproof integrity.
The cable length is too short — what can I do?
You can extend the cable with wire-to-wire connections; however, keep the extension short, as the light uses a PWM control signal which can degrade over long distances.
The light doesn’t turn on after connecting to power — why?
Please check the following:
- Ensure the wiring is correct.
- Confirm the light and signal source share a common ground.
- Verify the power supply voltage is within the specified range.
- Check that the PWM signal is functioning properly.
As a test, you can short the signal wire to the positive power terminal to see if the light operates normally.
Why does the light dim after being on for a while?
The light relies on heat dissipation through contact with water. It includes an internal temperature protection system — if the temperature exceeds 80 °C, brightness will automatically reduce. Once the unit cools down, full brightness will return.
Is it compatible with ArduSub or Pixhawk?
Yes, the light can be connected to Pixhawk and is compatible with ArduSub systems.
Can I use the light in air?
This underwater light is designed for use in water, where the housing dissipates heat effectively.
If used in air, the internal temperature may exceed 80 °C, triggering brightness reduction for protection. While the light will not be damaged, it will dim until the temperature drops below 60 °C, at which point normal brightness and control will resume.
Note: This over-temperature protection cannot be overridden via signal dimming.
Why are there signs of water on the outside of the light?
Each light undergoes a 24-hour underwater burn-in test before shipping. Any visible water marks are likely from residual testing and not an indication of a leak or damage.
Is it safe for long-term deep deployment?
This model is engineered for extreme-depth use but should not be kept at full rated depth for extended periods. For sustained operation, we recommend a maximum working depth of 800 m.